— LAYOUT —
Issue Templates
There are InDesign templates for each magazine. These include customized master pages, layers, folios, paragraph styles, character styles, etc. These are located in: Production > Shared > CC Templates
Template Prep and Ad Import
Now that you have your page count estimate and advertising flat plan files from AdForce, open the magazine template (OT-TEMPLATE.indt).
TEMPLATE PREP
Go to: Layout > Pages > Insert Pages…
Add the amount you need using the “A-Master” setting
Save the file into the issue folder with this naming convention:
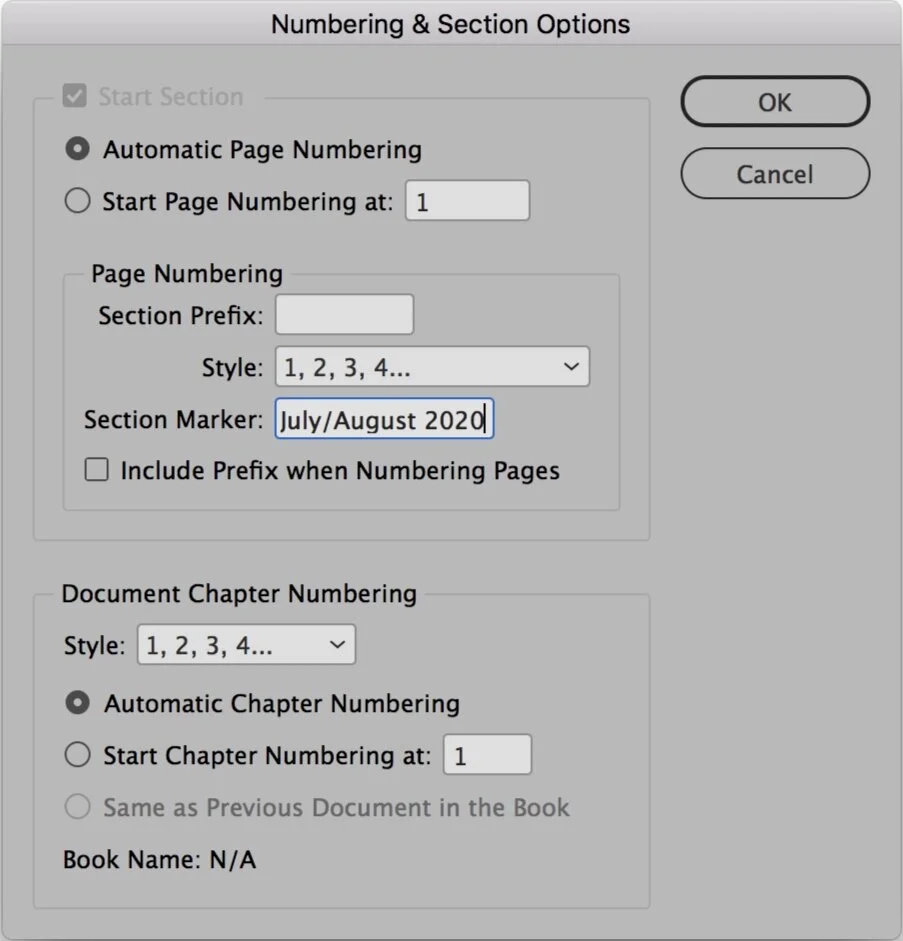
PRODUCT-ISSUE#FULL (e.g. OT-JANFEB2020#FULL)In the Pages palette, right-click page 1 and choose Numbering & Section Options
Set the issue date in the Section Marker field and click OK
IMPORT ADFORCE LAYOUTS
Importing your AdForce layouts is as easy as opening a new file in InDesign. After each ad layout imports, you will need to do a few clean-up tasks in your Layers palette to get everything situated.
With your blank template open in InDesign…
Select File > Open…
Choose one of the four AdForce files you made (one for each zone)
Select “Overlay” from the MEI Ad Import dialog box
Make sure the options are set to: Overlay All Pages, Start Overlay on Page 1, Master is “A-Master”, Magazine Manager and Base Edition are selected
After the import completes, select the layer for the correct zone and command-click to also select the new layer named “Infobox” (make sure the little pen icon is NOT on the Infobox layer)
Right-click on the layer and choose “Merge Layers”
Right-click on the Page Label layer and choose Delete Layer (do not delete after the last import, we’re just avoiding duplicates)
Repeat steps until all four AdForce files are imported
After the last AdForce file is imported and merged, right click the Page Label layer and select “Layer Options”
Turn ON the option to Lock Layer and turn OFF the option for Print Layer
After all the ad boxes are imported, you can move them around to suit the layout as needed.


Flowing Editorial
Now that the ad boxes are imported, you should get your editorial content roughed in to the magazine. Start by opening the InDesign Library file located in your templates folder. Production > Shared > CC Templates > “Magazine”
The one for Our Town is named “OT Library.indl” and you can drag pre-made sections onto the page(s) from the Library palette.

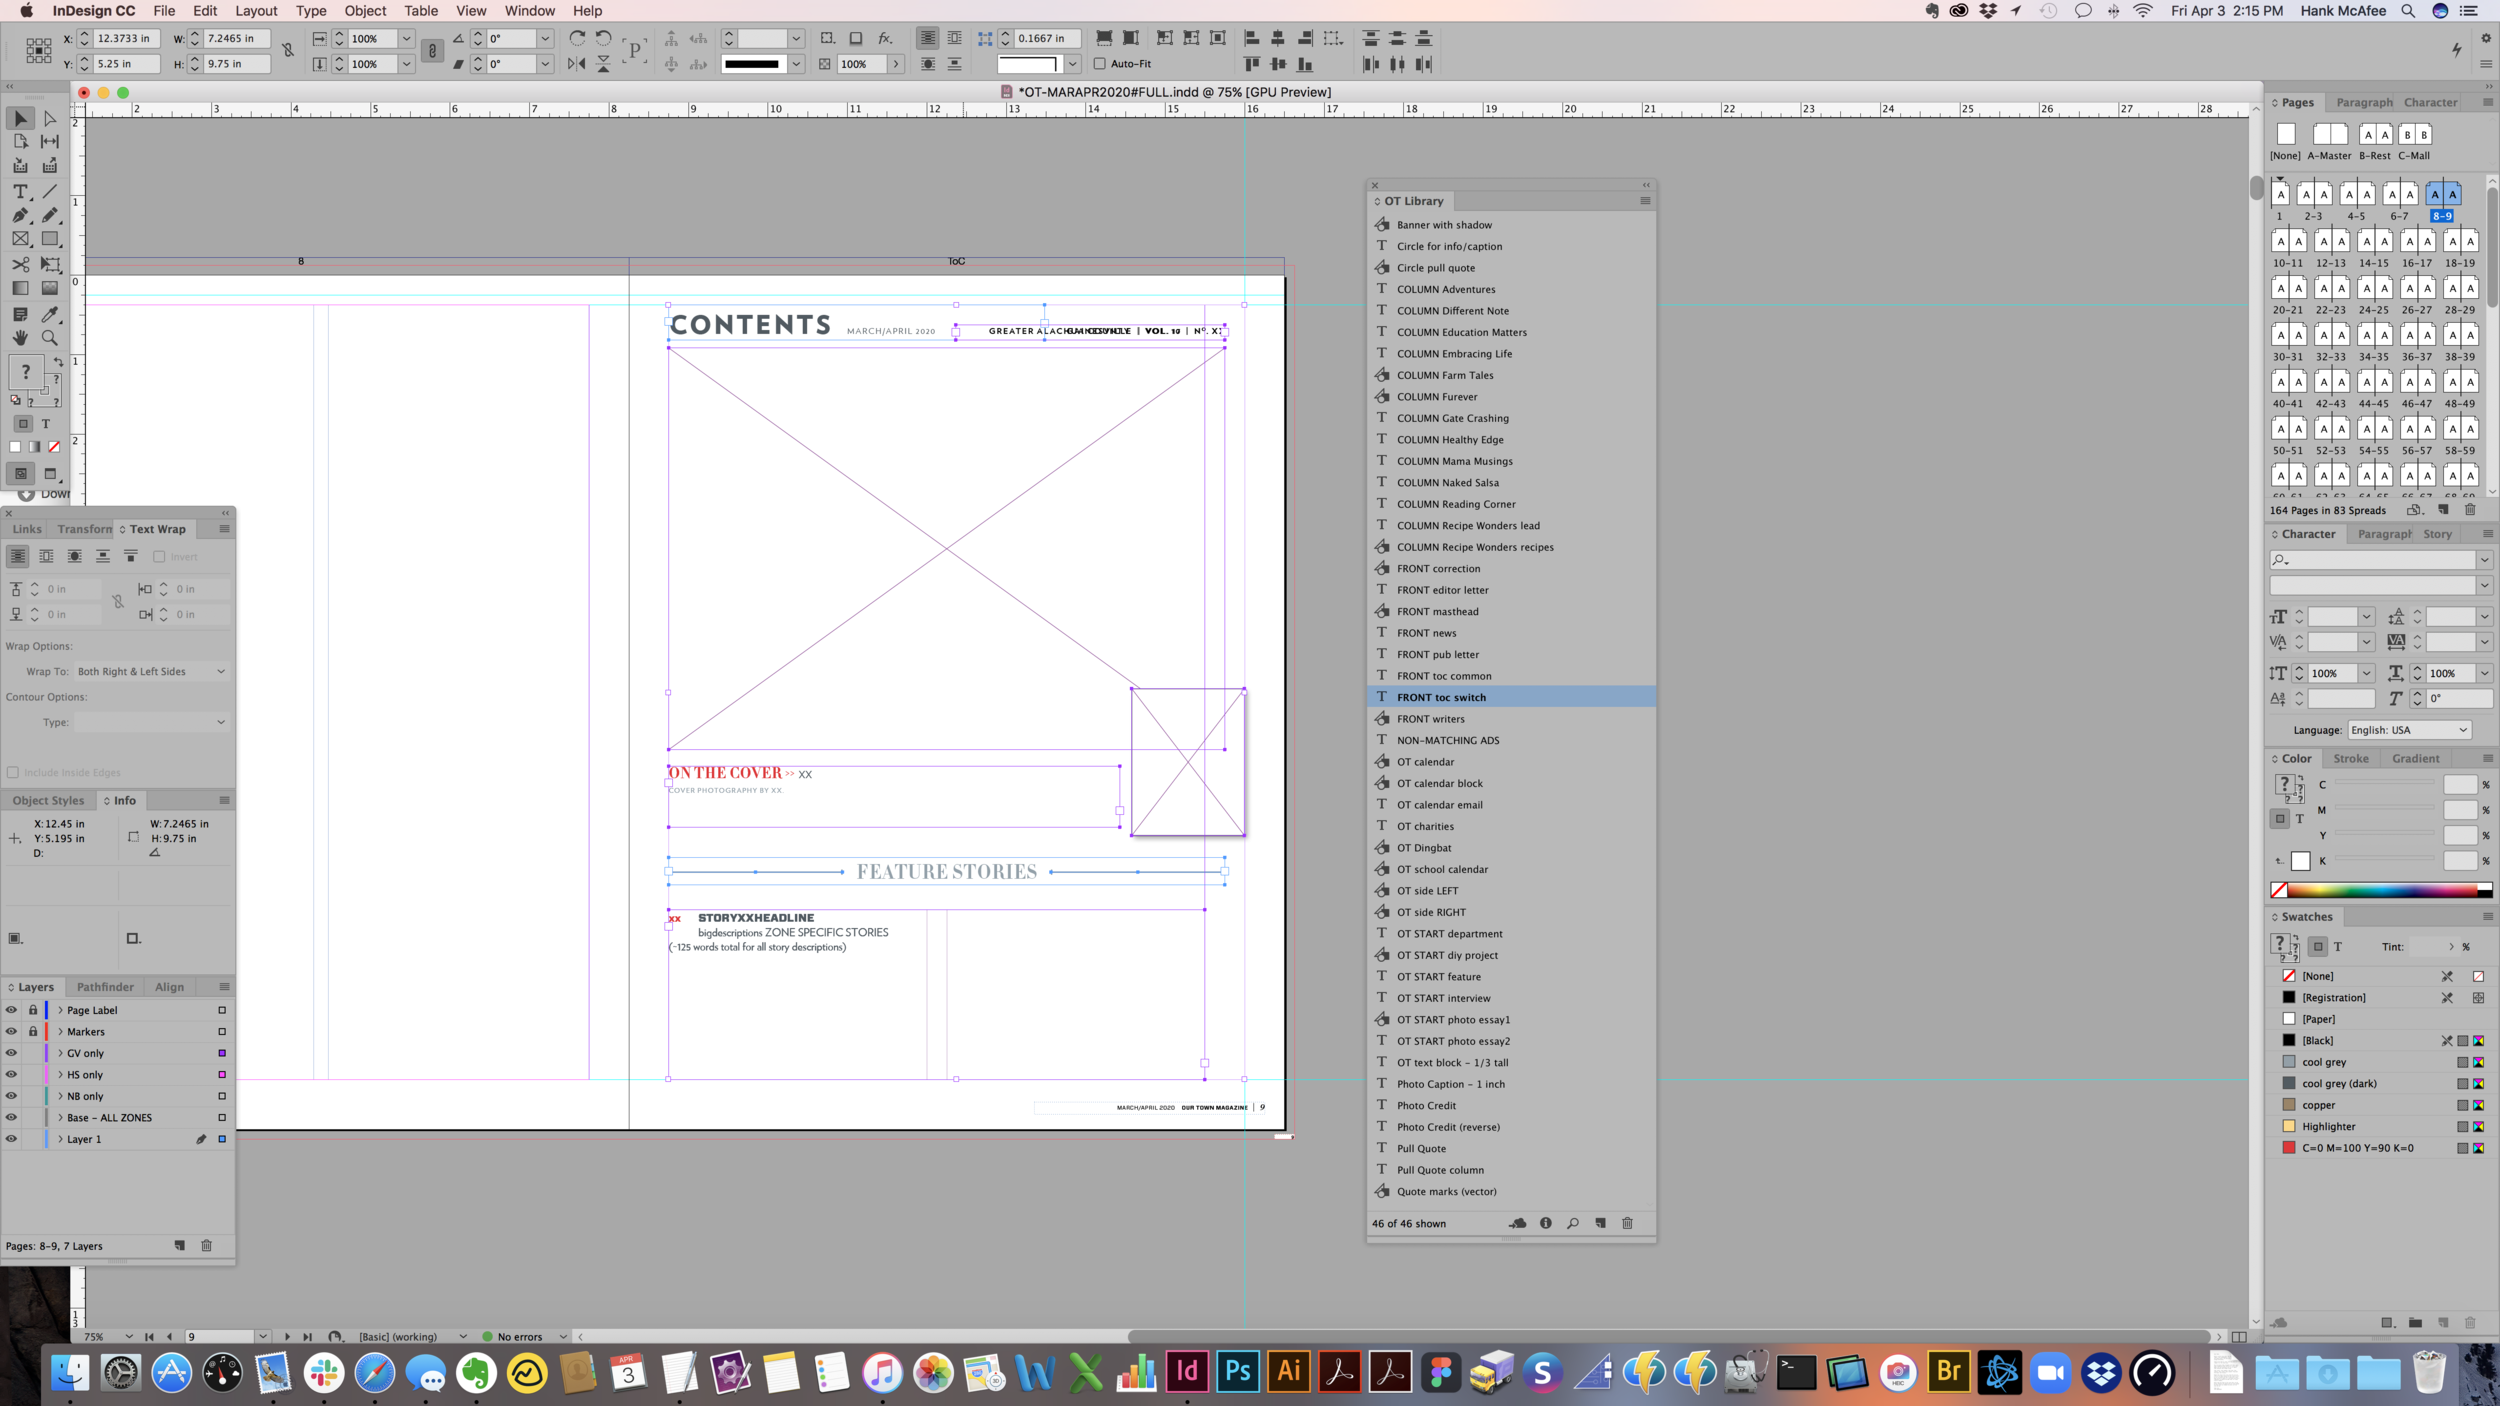


There are beginning design parts for most everything that repeats in each issue like Table of Contents, Editor’s Note, Writer Bio page. There’s also starting blanks for all regular Columnists, Feature Articles, Department Articles and more.
NOTE:
Typically, feature-style articles and department-style articles will be your choice. This is how I decide…
Feature = Lots of good photos/art or a long story (more than 1000 words)
Department = Not many good photos/art or a shorter story (less than 1000 words)
ROUGH FLOW EDITORIAL
IMPORTANT: Stay aware of which pages/signatures are set to be switch plates on the press. This is where you’ll be able to run GV only and HS only stories on different layers of the same pages.
As a general rule of thumb, editorial content should begin on left-hand pages.
Always make sure to leave adequate room for additional photos/art.
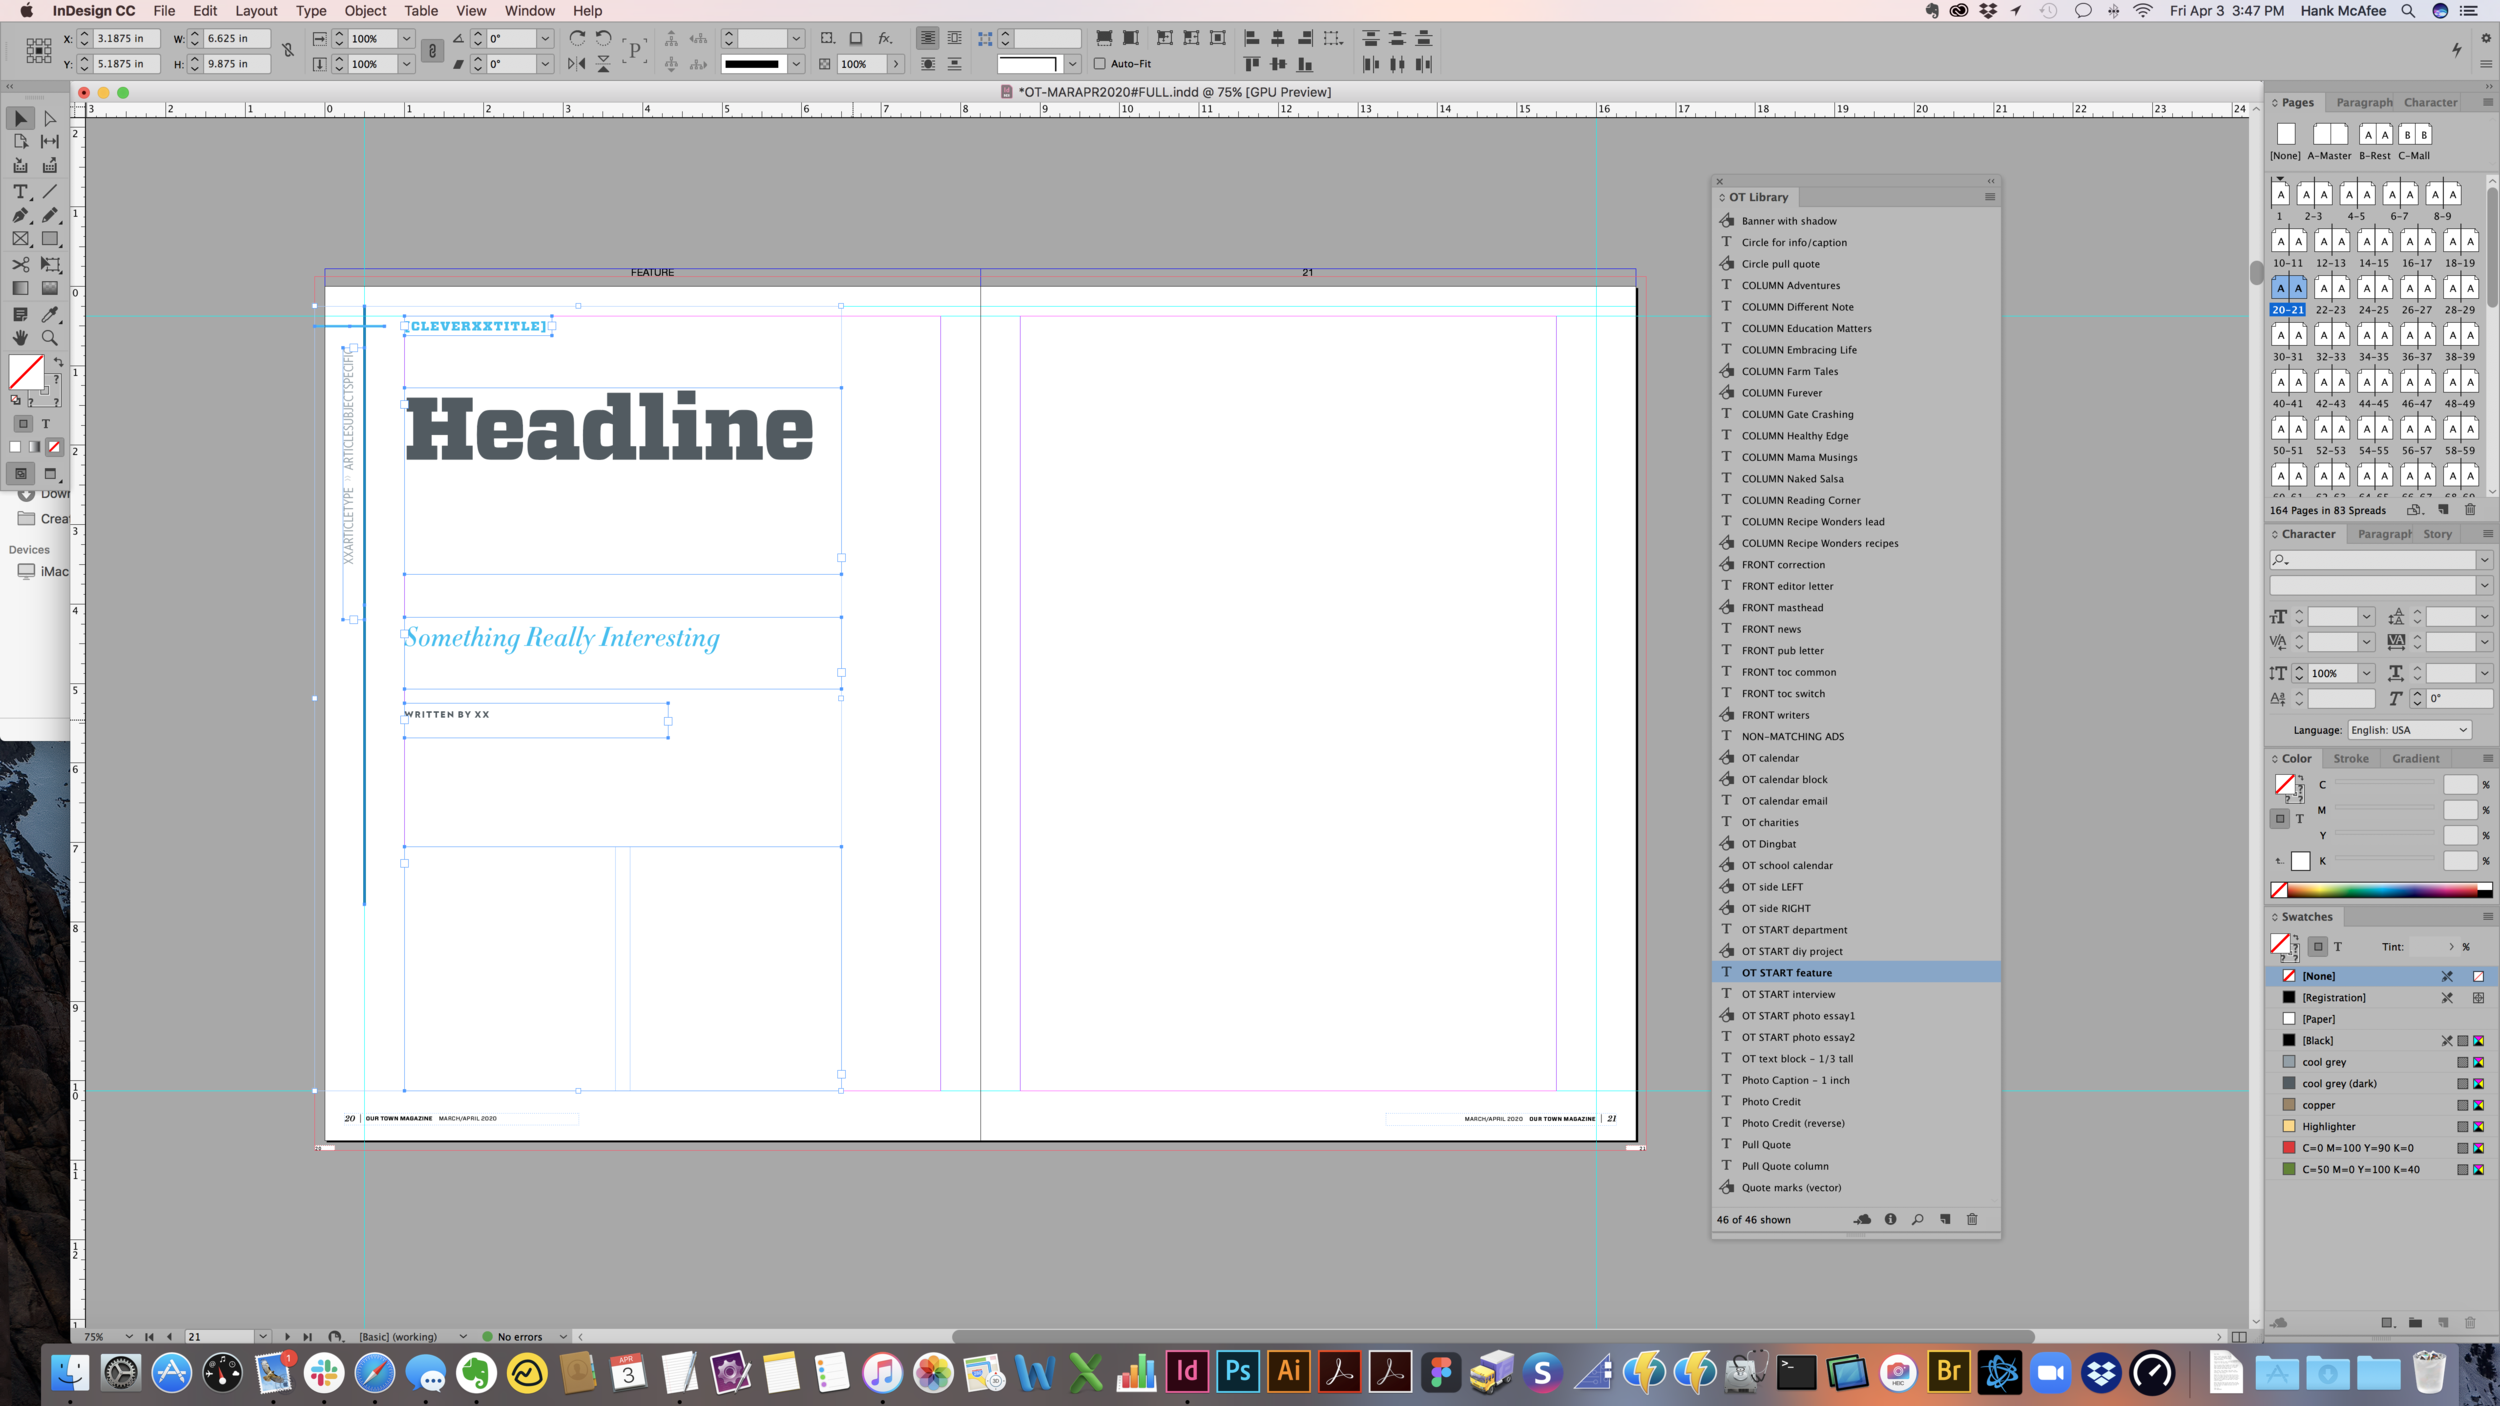
To start a feature, department or column, begin by dragging “OT START Feature” (or other) from the OT Library and placing on the page
Select the main body copy block and and select File > Place and navigate to the InCopy file for that story from the editorial folder (you can also drag-and-drop from the Finder into your InDesign file)
Right-click on the text frame and choose InCopy > Check Out
Select and Cut the Title
Paste without Formatting into the placeholder above (this preserves the text style in the placeholder)
Repeat for Headline, Subhead and Writer byline
Clean up extra returns in the body copy and Select All
Apply the “Body” paragraph style
Select the first paragraph and apply the “Body - Drop Cap” paragraph style
Add photos/art (just to the opening page or spread for now)
Add blank text block(s) for photo captions if needed and provide a word count estimate
Use color(s) from the photos/art to adjust the placeholder text color to harmonize
Open the Windows > Editorial > Assignments palette
Turn down the carats to show “Unassigned InCopy Content”
Select the text blocks for everything except the main story and drag them to that section of the palette
In the dialog that pops up, name them something sensible and place in a new folder named “~InCopy Links ISSUEDATES” (i.e. ~InCopy Links MARAPR20)
Click the text linking box in the body copy text block (red plus)
Go to the next page and click inside the placeholder text box (repeat as needed)
NOTE:
If you are adding multiple text blocks at once into the Editorial Assignments, InDesign will kind of half-ass auto name them with whatever you typed as a prefix.


Split Up Issue Documents
After the ads, editorial, calendar, etc. are all roughed in, I recommend splitting the document up into smaller sections. Typically there will be 3-5 and I try to split them at signature breaks so output for press is simpler later on.
For example… if the first signature of 32 pages also has switch pages for GV & HS, that’s a good place to split.
Determine the pages where you want to split things up (stories must remain intact)
Make a safety copy of the main “FULL” document
Duplicate the “FULL” document for your amount of splits
Rename them A, B, C, D, etc.
Open each, delete the appropriate pages and save
For all except A, you’ll need to start your numbering at the correct page. Do this from the Pages palette.
Right-click the first page in the document and select “Numbering & Section Options”. Then set the “Start Page Numbering at:” to the correct page number.
TIP: We use absolute page numbering, which means the cover counts as Page 1. So, the end of the first 32 page signature is really page 34.

Linking Ads with Fido
The ad boxes created by AdImport can have their contents managed by the Fido extension. In order for Fido to see the files you want, we have to rename the approved PDF (or EPS) files. Any file linked using Fido must be named ONLY the Order Number (Ad #) assigned by Magazine Manager and included at the end of each ad’s file name.
AFTER ALL ADS ARE APPROVED & PROCESSED
Once all the approved ads have been processed into final PDF or EPS files and renamed, you can link them into your InDesign document(s) for that issue.
In the Ads Approved folder where these files have been saved (Production > Issues > Ads Approved), you’ll want to select all the files with full file names and drag them to the “Topless Stripper” droplet created from A Better Finder Rename. I recommend keeping this droplet in your Dock.
LINKING ADS
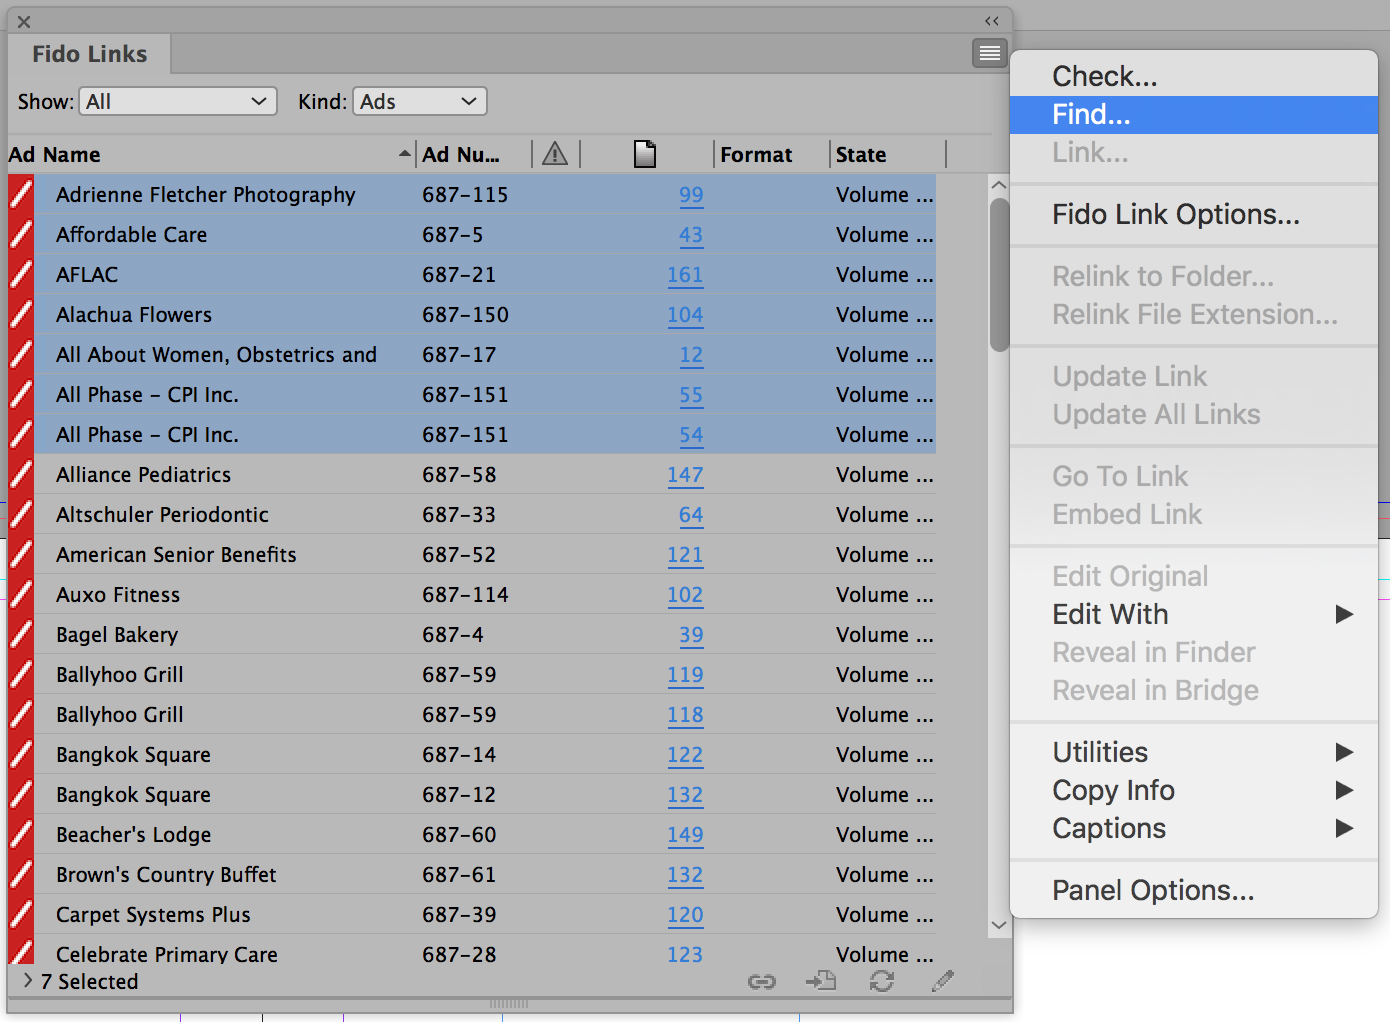
In InDesign, go to: Window > Fido Links
In the Fido Links palette, set it to “Show: All” and “Kind: Ads”
Select the ad(s) that you want to link
Click the menu button on the top right and select “Find…”
Navigate to the Ads Approved folder
NOTE: Be patient. It might take 3-10 minutes if you are finding dozens of ads.